Skip to content
Meta Description:
Looking to install a new garage door? Learn the complete step-by-step process, cost considerations, safety tips, and expert advice to ensure a perfect installation.
Introduction
A new garage door can dramatically enhance your home’s curb appeal, security, and energy efficiency. Whether you’re replacing an old door or installing one for the first time, understanding the installation process is crucial. In this guide, we’ll walk you through each step of installing a new garage door, explain the materials and tools needed, highlight potential pitfalls, and offer expert tips to make the process smooth and safe.
Step 1 – Choose the Right Garage Door
Before any installation work begins, you need to select the best garage door for your home. Factors to consider:
- Door Type: Sectional, roller, tilt-up, or sliding
- Material: Steel, aluminum, wood, or fiberglass
- Insulation: Helps reduce energy bills and noise
- Style & Finish: Matches your home’s exterior design
- Safety & Security Features: Auto-reverse, sensors, and locks
Tip: Steel doors are durable and low maintenance, while wooden doors provide a classic, custom look.
Step 2 – Measure Your Garage Opening
Accurate measurements are critical for a perfect fit. You’ll need:
- Width & Height: Measure the interior of the garage opening
- Headroom: Space above the opening for springs and tracks
- Backroom: Depth from garage opening to back wall
- Side Room: Space on each side for tracks and hardware
Tip: Measure at least three points for width and height to account for any unevenness.
Step 3 – Gather Tools and Materials
For installation, you’ll need:
Materials:
- New garage door panels
- Tracks & hardware kit
- Springs and cables
- Garage door opener (if applicable)
Tools:
- Drill and bits
- Wrenches and sockets
- Screwdrivers
- Level
- Tape measure
- Ladder and safety glasses
Safety Tip: Garage doors are heavy; use gloves, eye protection, and have a helper during installation.
Step 4 – Remove the Old Garage Door
If you are replacing an existing door, you need to remove it first:
- Disconnect the opener: Unplug the motor or remove the chain/belt drive
- Release the tension: Carefully unwind the springs (hire a professional if unfamiliar)
- Remove panels: Start from the top panel and work downward
- Detach tracks and hardware: Remove bolts and brackets
Warning: Garage door springs are under extreme tension. Improper handling can cause serious injury.
Step 5 – Install the Bottom Panel
The bottom panel serves as the foundation for the rest of the door:
- Place it in the opening and level it
- Attach brackets and rollers to each side
- Check alignment with a level
Tip: Ensure the panel is square to prevent misalignment later.
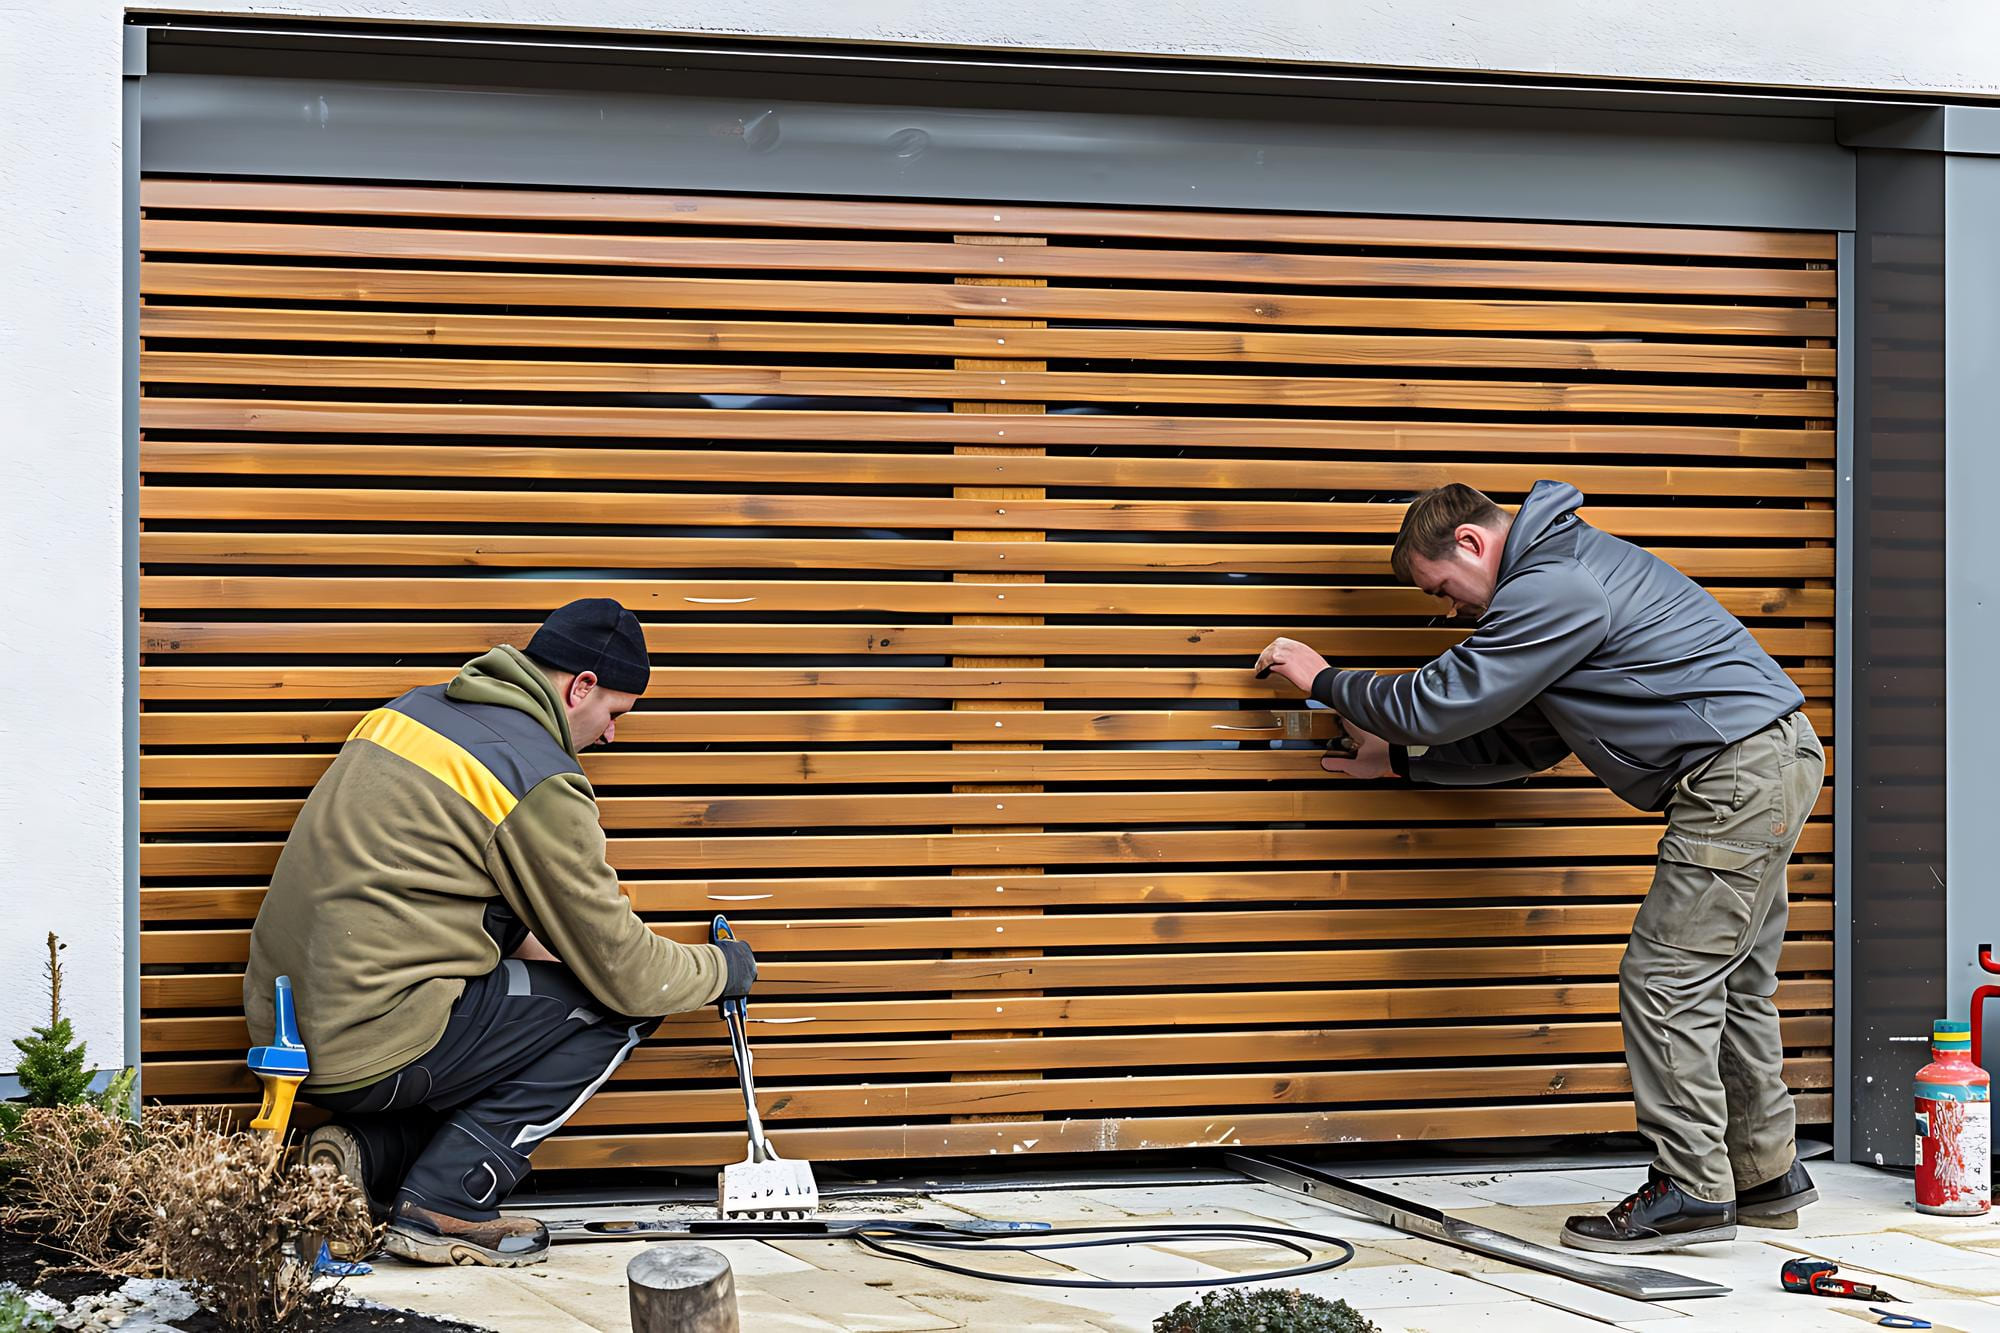
Step 6 – Install Additional Panels
Work panel by panel:
- Lift the next panel on top of the previous one
- Connect with hinges provided
- Insert rollers into side tracks
- Repeat until all panels are installed
Tip: Have a helper hold panels in place to prevent scratches and injury.
Step 7 – Install Vertical and Horizontal Tracks
Tracks guide the door’s movement:
- Secure vertical tracks on both sides of the door
- Attach horizontal tracks to the ceiling
- Ensure tracks are level and parallel
- Tighten brackets securely
Tip: Misaligned tracks can cause door binding or noisy operation.
Step 8 – Install Springs and Cables
Garage doors rely on springs to balance the door weight:
- Torsion Springs: Mounted above the door
- Extension Springs: Mounted on the side
- Cables: Connect the door to the springs
Warning: This step is extremely dangerous. Improper installation can lead to serious injury. If unsure, hire a professional.
Step 9 – Install the Garage Door Opener (Optional)
If adding an automatic opener:
- Mount the opener motor to the ceiling
- Attach the rail and trolley
- Connect the opener to the door bracket
- Program remote controls and safety sensors
Tip: Test the opener several times to ensure smooth operation and proper auto-reverse functionality.
Step 10 – Test and Adjust
Once installation is complete:
- Open and close the door multiple times
- Check for smooth operation and noise
- Adjust springs or tracks if necessary
- Ensure sensors are aligned
- Tighten all hardware
Tip: A properly balanced door should stay in place when opened halfway.
Cost Considerations
Garage door installation cost varies by:
- Door type and material
- Door size
- Labor cost
- Additional features (insulation, smart opener, decorative panels)
Average Cost (2026):
- Standard single steel door: $700–$1,200
- Double door: $1,000–$2,000
- Professional installation: $200–$500
Common Mistakes to Avoid
- Not measuring the opening correctly
- Skipping professional help for springs
- Misaligned tracks
- Ignoring safety sensors
- Over-tightening hardware causing damage
Conclusion
Installing a new garage door is a major home improvement project that adds security, style, and convenience. By following this step-by-step guide, you can ensure a safe and successful installation. Remember, certain tasks like spring installation are best left to professionals. Always prioritize safety and proper alignment for long-lasting performance.